Update Apple ID Phone Number Notification
In general, the “Update Apple ID Phone Number” notification appears on iPhone prior to or after a major iOS update. The purpose of this notification appears to be designed by Apple to remind iPhone users to make sure that Phone Number associated with their Apple ID is correct and up-to-date. Hence, the easiest way to deal with this notification is to simply confirm that your Phone Number is correct or change the Phone Number (if it has changed).
1. Confirm or Change Trusted Phone Number
Follow the steps below to make sure that your Trusted Phone Number is correct and this will remove the Notification from your iPhone.
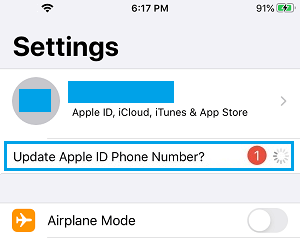
Open Settings and tap on Update Apple ID Phone Number Notification.
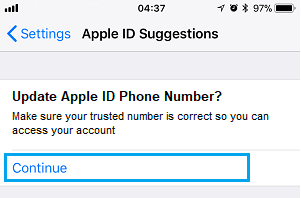
On the next screen, tap on Continue.
On the next pop-up, tap on Keep Using Existing Number option and the notification will go away. If your Phone Number has changed, tap on Change Trusted Number option and you will be prompted to enter New Phone Number on the next screen.
2. Change Apple ID Phone Number On iPhone
If your Phone Number has changed, you can Edit and Change Apple ID Phone Number at any time on your iPhone by going to Settings.
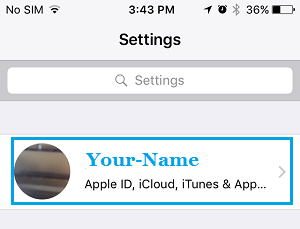
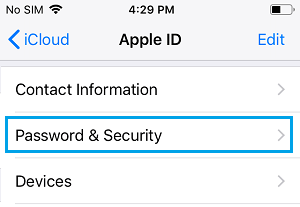
Open Settings and tap on your Apple ID.
On the next screen, tap on Password & Security option.
When prompted, enter your Apple ID Password.
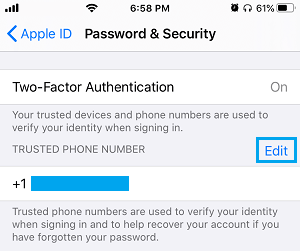
On the next screen, tap on the Edit option located next to Trusted Phone Number.
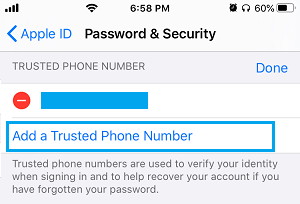
On the next screen, tap on Add a Trusted Phone Number option.
Type your Phone Number and tap on Done. Hopefully, one of the above two methods should fix the problem.
How to Setup Conditional Call Forwarding on iPhone How to Find if Someone Has Blocked Your Number On iPhone
