iPhone “Cannot Verify Server Identity”
In general, iPhone comes up with “Cannot Verify Server Identity” error when a New Email Account is setup or added to Mail App and also while trying to send an Email. The reason for this error is due to iPhone being unable to fetch or verify the Mail Server’s SSL certificate and also if the SSL certificate has expired, is fake or inconsistent with the domain name.
1. Restart iPhone
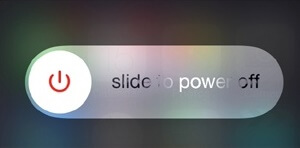
Restarting or Rebooting a device is generally the most commonly recommended troubleshooting step to fix an iPhone that is going through minor performance issues and problems. Go to Settings > General > scroll down and tap on Shut Down. On the next screen, use the Slider to Power OFF your device.
Wait for 30 seconds and restart your device by pressing the Power button.
2. Force-Close Mail App and Re-open
Swipe Up from bottom of the screen, pause for a moment and you will see the App Cards. Swipe-right or left on the Cards to find the Mail App Card. Swipe up on Mail App Card to force-close the Mail App. Re-open the Mail App and try to send the Email again.
3. Delete Email Account and Add Back
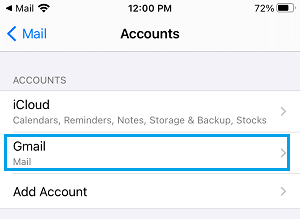
Go to Settings > Mail > Accounts > select your Email Account.
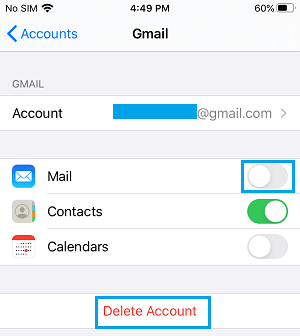
On the next screen, select the Delete Account option.
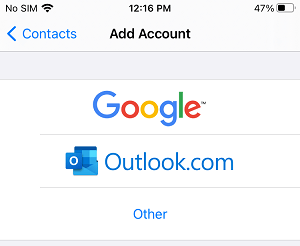
Go to Settings > Mail > Add Account > on the next screen, select your Email Service provider.
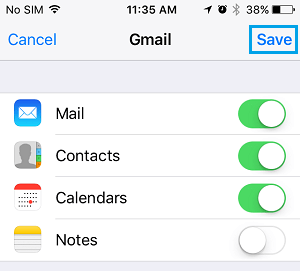
On the next two screens, enter your Email Address and Password to Sign-in. On the next screen, move the toggle next to Mail to ON position and tap on Save.
Note: If you want to, you can also Enable Contacts, Calendars & Notes.
4. Reset Network Settings
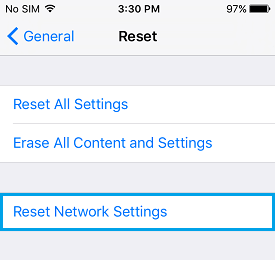
Sometimes, the problem is due to Network Settings on your iPhone becoming faulty or corrupted. Go to Settings > General > Transfer or Reset iPhone > Reset > On the pop-up, select Reset Network Settings option.
On the confirmation pop-up, tap on Reset to confirm. After Network Settings Reset, you will have to connect back to your WiFi Network by entering your WiFi Network Pass.
How to Hide IP Address on iPhone and Mac How to Change Privacy Settings on iPhone
